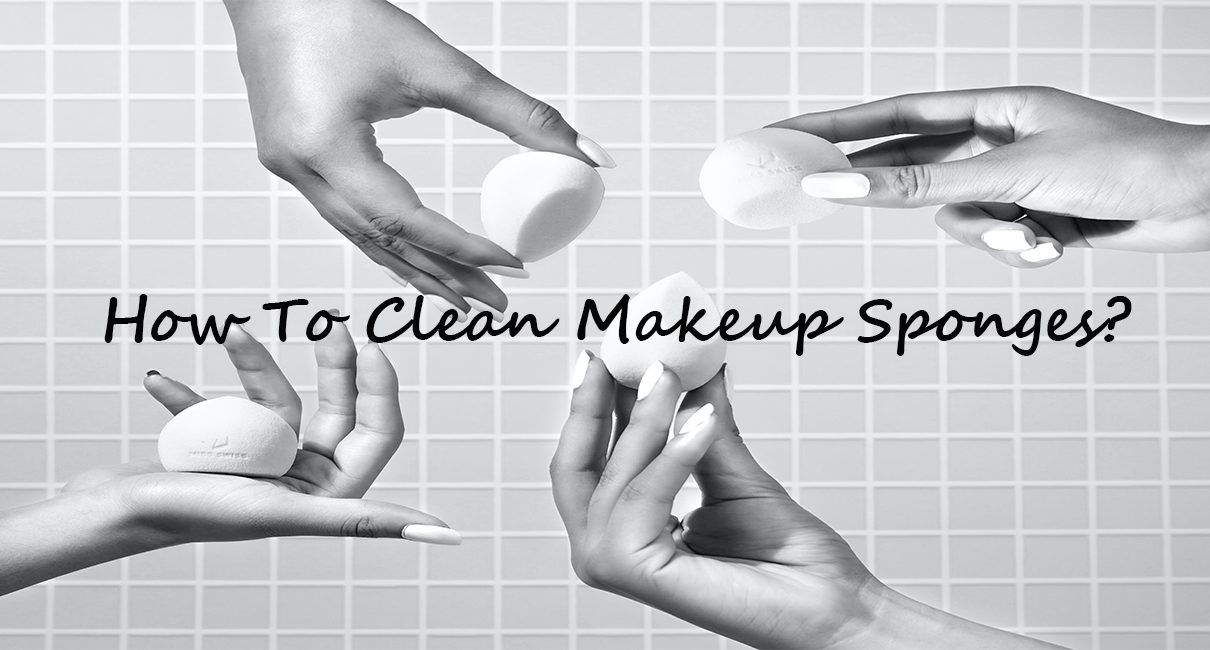
A makeup sponge, also known as a makeup blender, is one of the important products in the makeup box. It is used to blend the foundations and pancakes with our skin. You can actually call it the magic brush that instantly helps us to hide the acne, wrinkles, or scars on our faces.
But, one mistake we all do in common is to keep the used sponge in the makeup box without cleaning it. Cleaning a sponge is very important as the makeup residues stay in it and can damage your skin.
Ideally, you must clean it after every use, but we keep it as it is when we are in a hurry. But make sure that you clean the blender at least once a week. So, in this article, let’s look at various ways of cleaning makeup sponges.
How To Clean Makeup Sponges?
Here are some of the ways you can use to clean the blender at your convenience.
1. Clean The Sponge With Soap
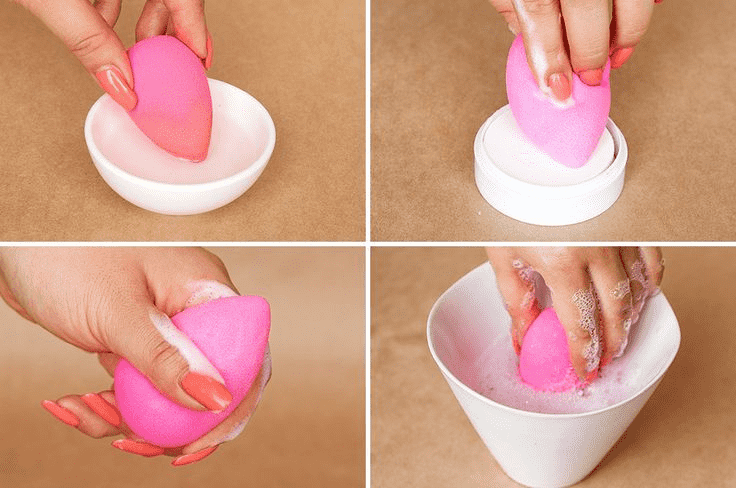
This is the easy and cheapest way to clean a sponge, as soap is readily available in our house. You can use the liquid cleanser or a soap bar, whichever is okay for you. Here are the steps to clean it:
- Make your sponge wet: Hold it under running water until it is saturated and expands in size. If your sponge is too dirty, then you can also keep it soaking in water for around 30 minutes.
- Add the cleanser: If you are using the liquid cleanser, you can directly put it in the blender. Now, squeeze the blender as much as you can so that the cleanser reaches the center of the sponge. And if you are using a soap bar, you can directly rub the sponge from all sides and start squeezing it to clean the blender well.
- Rinse: Now squeeze the sponge under the running water till the water flows clearly. After it is cleaned properly, squeeze it the last time and keep it aside to dry.
2. Clean The Sponge With A Pad
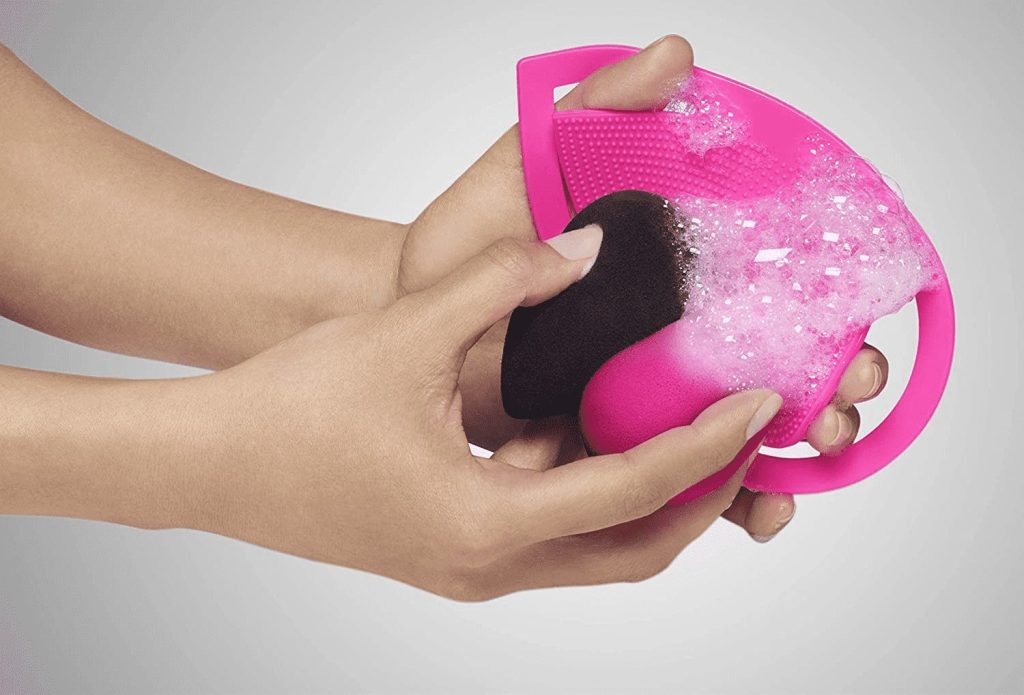
Makeup blenders are actually very delicate, and if we scrub them on any harsh surface, they might get damaged. So, to solve this issue, textured silicone pads are available in the market. It is gentle but very effective to scrub the sponges without tearing them. So, let’s see how to clean the sponge with this.
- Wet the sponge: Hold the used sponge underwater until it is fully wet and expanded.
- Add soap: You can use a liquid cleanser or a soap bar as your preference. Then squeeze it as much as possible to remove the makeup residues from the entire sponge.
- Scrub & Rinse: Scrub the sponge for a while on the silicone pad gently without pulling it. After this, rinse it under water till the water flows clear.
- Dry: For drying the sponge, you need to remove the excess water from it and then keep it aside where there is a lot of air to dry quickly. Keeping it in a close space can lead to mildew.
3. Clean The Sponge In A Microwave
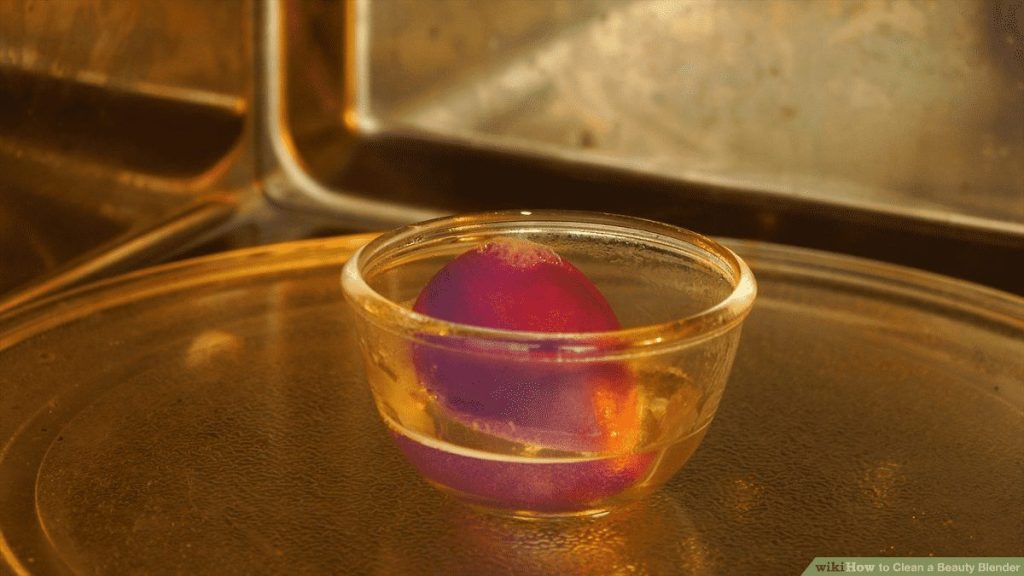
This is one of the most effective methods for cleaning the sponge. You don’t have to do much, but the microwave will efficiently clean the sponge. It will also kill the microorganisms growing on the sponge and could damage your skin. Let’s see how to clean the sponge in the microwave.
- Make a mixture of soap and water: Take a microwave-safe bowl and mix liquid soap or shampoo & water in it. Ensure that the amount of water you take covers the entire sponge when you put it in a bowl.
- Make the sponge wet: Put the sponge in a bowl and squeeze it 2-3 times to make it wet quickly from the inside.
- Microwave it: Put the bowl in the microwave and start it for around 1 minute. Let the bowl cool down for a while and take it out. You will see your sponge has turned into a new one.
- Dry: Now, hold it once under the tap running water, squeeze it, and keep it dry.
Why Do You Need To Wash A Makeup Sponge?
Makeup sponges can be used to blend various products like foundation, concealer, and pancakes. After the application, the residues of the product stay or blend in the sponge. And with time, sometimes it might be a home for some bacteria.
So, when you apply such a sponge on your skin, then there are chances that it might cause skin irritation and rashes. And if you have a skin breakout, the bacteria might enter the skin and even cause irritation.
Therefore, it is best practice to wash the makeup sponge after every use, but if washing it daily is not possible, make sure that you wash it at least once a week.
Why I Replace Beauty Blenders Or Makeup Sponges?
Every makeup product that we use comes with an expiry date, except for the blenders or makeup sponges. But, this doesn’t mean that we can use it lifetime. So, now you might think, how to figure out when to replace the sponge? Don’t worry! Here are a few tips to help you know when to change the makeup sponge.
Causing Skin Rashes
If you have more skin irritation than usual, then it is time to replace your makeup sponge. The sponge might have developed a few bacteria that have stuck to your skin, causing more irritation.
Sponge Discoloration
If the color of your sponge has faded naturally over time, you should replace this with a new one.
Worn Out
If the makeup sponge has started to tear out due to excess use, you need to replace it immediately because it might not work as expected.
Pro Tip
It is best to change the blender every 3 months to protect the skin from any rashes or infections. But if you are using it daily or more often, you might need to replace it before 3 months.
Conclusion
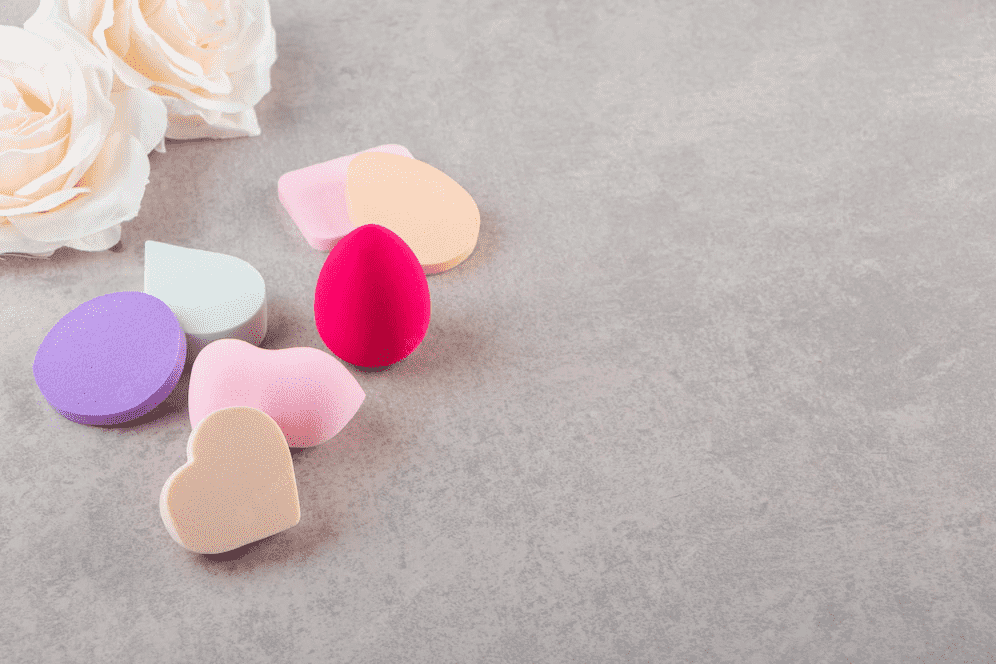
Makeup sponges are the must-have product in our beauty & makeup kit. It comes in various sizes and shapes, so you can choose it as per your preference. But, ensure that you clean it frequently after every use. I hope these tips were helpful, and now you know how to wash makeup sponges perfectly.


